Hey there crafty chemists! Have you ever wondered how to turn your love for science into a fun and functional DIY project? Look no further than making your own fridge magnet using chemistry! In this article, we’ll walk you through the simple steps to create a colorful and eye-catching magnet that will not only hold up your grocery list but also showcase your science skills. Get ready to unleash your inner scientist and jazz up your fridge with a handmade creation that’s sure to impress. Let’s get started!
Let’s Get Magnetic: Understanding the Chemistry Behind Fridge Magnets
Making your own fridge magnet is a fun and easy DIY project that can also teach you a thing or two about chemistry. To create a magnetic fridge magnet, you will need a few simple materials and a basic understanding of the science behind magnets. With a little creativity and some chemistry know-how, you can personalize your fridge with unique and custom-made magnets.
To get started, gather the following materials:
- Iron filings
- small magnets
- Clear adhesive
- Plastic or glass beads
- Alcohol-based ink pens
Ingredients for Success: Choosing the Right Materials for Your DIY Project
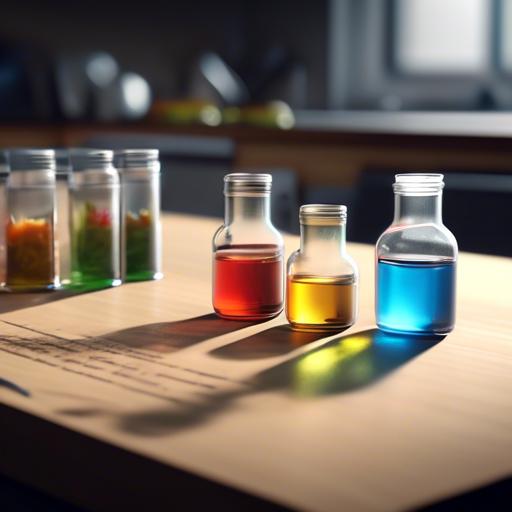
To create a chemistry-themed fridge magnet, you’ll need to choose the right materials for your DIY project. One key component is a small glass or plastic container to hold the chemical mixture. This will serve as the main body of the magnet and can be found at your local craft store.
next, you’ll need to gather the necessary chemicals to create the magnetic solution. Start by getting some iron oxide powder, which can be purchased online or at a specialty chemical store. Mix the iron oxide powder with a liquid solution of water and glycerin to create a paste-like substance. Pour this mixture into the container and place a small magnet inside to create the magnetic effect.seal the container with a lid and decorate the outside with fun chemistry-themed stickers or drawings. This unique fridge magnet will not only hold your vital notes and reminders but also serve as a fun science experiment!
Mixing It Up: Step-by-Step Guide to Creating Your Own Fridge Magnet
To create your own chemistry-themed fridge magnet, you’ll need a few simple ingredients and a dash of creativity. Start by gathering the following materials:
- Clear glass or plastic cabochon
- Chemistry-themed sticker or image
- Magnet strip or sheet
- Craft glue
Begin by placing the chemistry sticker or image onto the flat side of the cabochon. Make sure it is indeed centered and secure. Next, apply a thin layer of craft glue to the back of the cabochon and press the magnet strip or sheet firmly onto the glue. Allow the magnet to dry fully before sticking it onto your fridge. Voila! You now have a chemistry-inspired fridge magnet to spruce up your kitchen decor.
Tips and Tricks for a Strong and Long-Lasting Chemistry-based Fridge magnet
To ensure your chemistry-based fridge magnet stays strong and long-lasting, follow these tips and tricks:
- Use high-quality materials: When creating your fridge magnet, make sure to use high-quality materials that are durable and can withstand the test of time.
- Seal the magnet: to prevent the magnet from losing its strength, seal it with a clear coating to protect it from wear and tear.
- Avoid exposure to extreme temperatures: Keep your fridge magnet away from extreme heat or cold, as this can affect its magnetic properties.
For a creative and unique touch, try using different chemical elements to create a colorful and educational fridge magnet. Experiment with different shapes and sizes to make your chemistry-based fridge magnet stand out on your refrigerator!
| Element | Symbol |
|---|---|
| Hydrogen | H |
| Carbon | C |
| Oxygen | O |
Q&A
Q: How can you make a fridge magnet using chemistry?
A: Today, we’re going to show you a fun and easy DIY project to create your own fridge magnet using chemistry!
Q: What materials will I need for this project?
A: To create your own fridge magnet, you will need iron filings, a small bottle of clear nail polish, a small magnet, and a small container to mix your ingredients in.
Q: How does chemistry play a role in creating a fridge magnet?
A: In this project, chemistry comes into play through a simple process called suspending iron filings in nail polish. the nail polish acts as a binding agent for the iron filings, which allows them to stick to the magnet and create a magnetic surface.
Q: What are the steps to make the fridge magnet?
A: First, pour some iron filings into your container. Then, add a few drops of clear nail polish and mix the two ingredients together until the iron filings are completely coated. Next, use a small magnet to pull the iron filings out of the mixture and onto the magnet. Let it dry, and voila – you have your very own chemistry-inspired fridge magnet!
Q: How long will it take for the fridge magnet to dry?
A: It usually takes about 30 minutes to an hour for the nail polish to fully dry and for the magnet to be ready for use.
Q: How strong will the magnet be once it’s finished?
A: The strength of the magnet will depend on the amount of iron filings you use and how evenly they are distributed on the magnet. Experiment with different amounts to find the level of strength that works best for you!
Q: Are there any safety precautions I should be aware of while making this project?
A: It’s always a good idea to work in a well-ventilated area when using nail polish and to avoid getting the mixture on your skin or in your eyes. Additionally, keep small magnets away from young children to prevent accidental ingestion.
Q: where can I display my new fridge magnet once it’s finished?
A: Your new chemistry-inspired fridge magnet will look great on your refrigerator, whiteboard, or any other magnetic surface in your home or office. Get creative with your designs and enjoy your new piece of DIY decor!
We hope you have fun creating your own fridge magnet using chemistry. Enjoy!
Closing Remarks
We hope you enjoyed learning how to make your own fridge magnet using simple chemistry techniques! with just a few ingredients and a little creativity, you can customize your magnet to match your style and personality. Remember to always follow safety precautions when working with chemicals and have fun experimenting with different colors and shapes. Stay tuned for more fun and educational DIY projects on our blog! Thanks for reading!

